
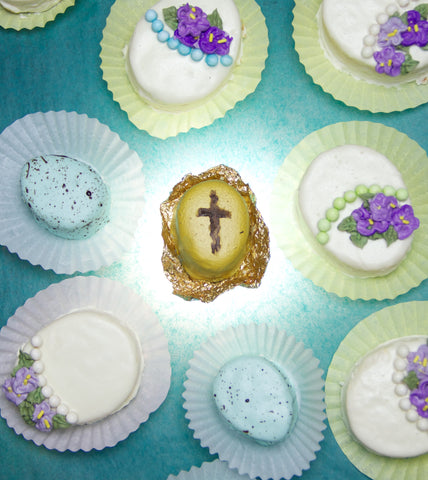
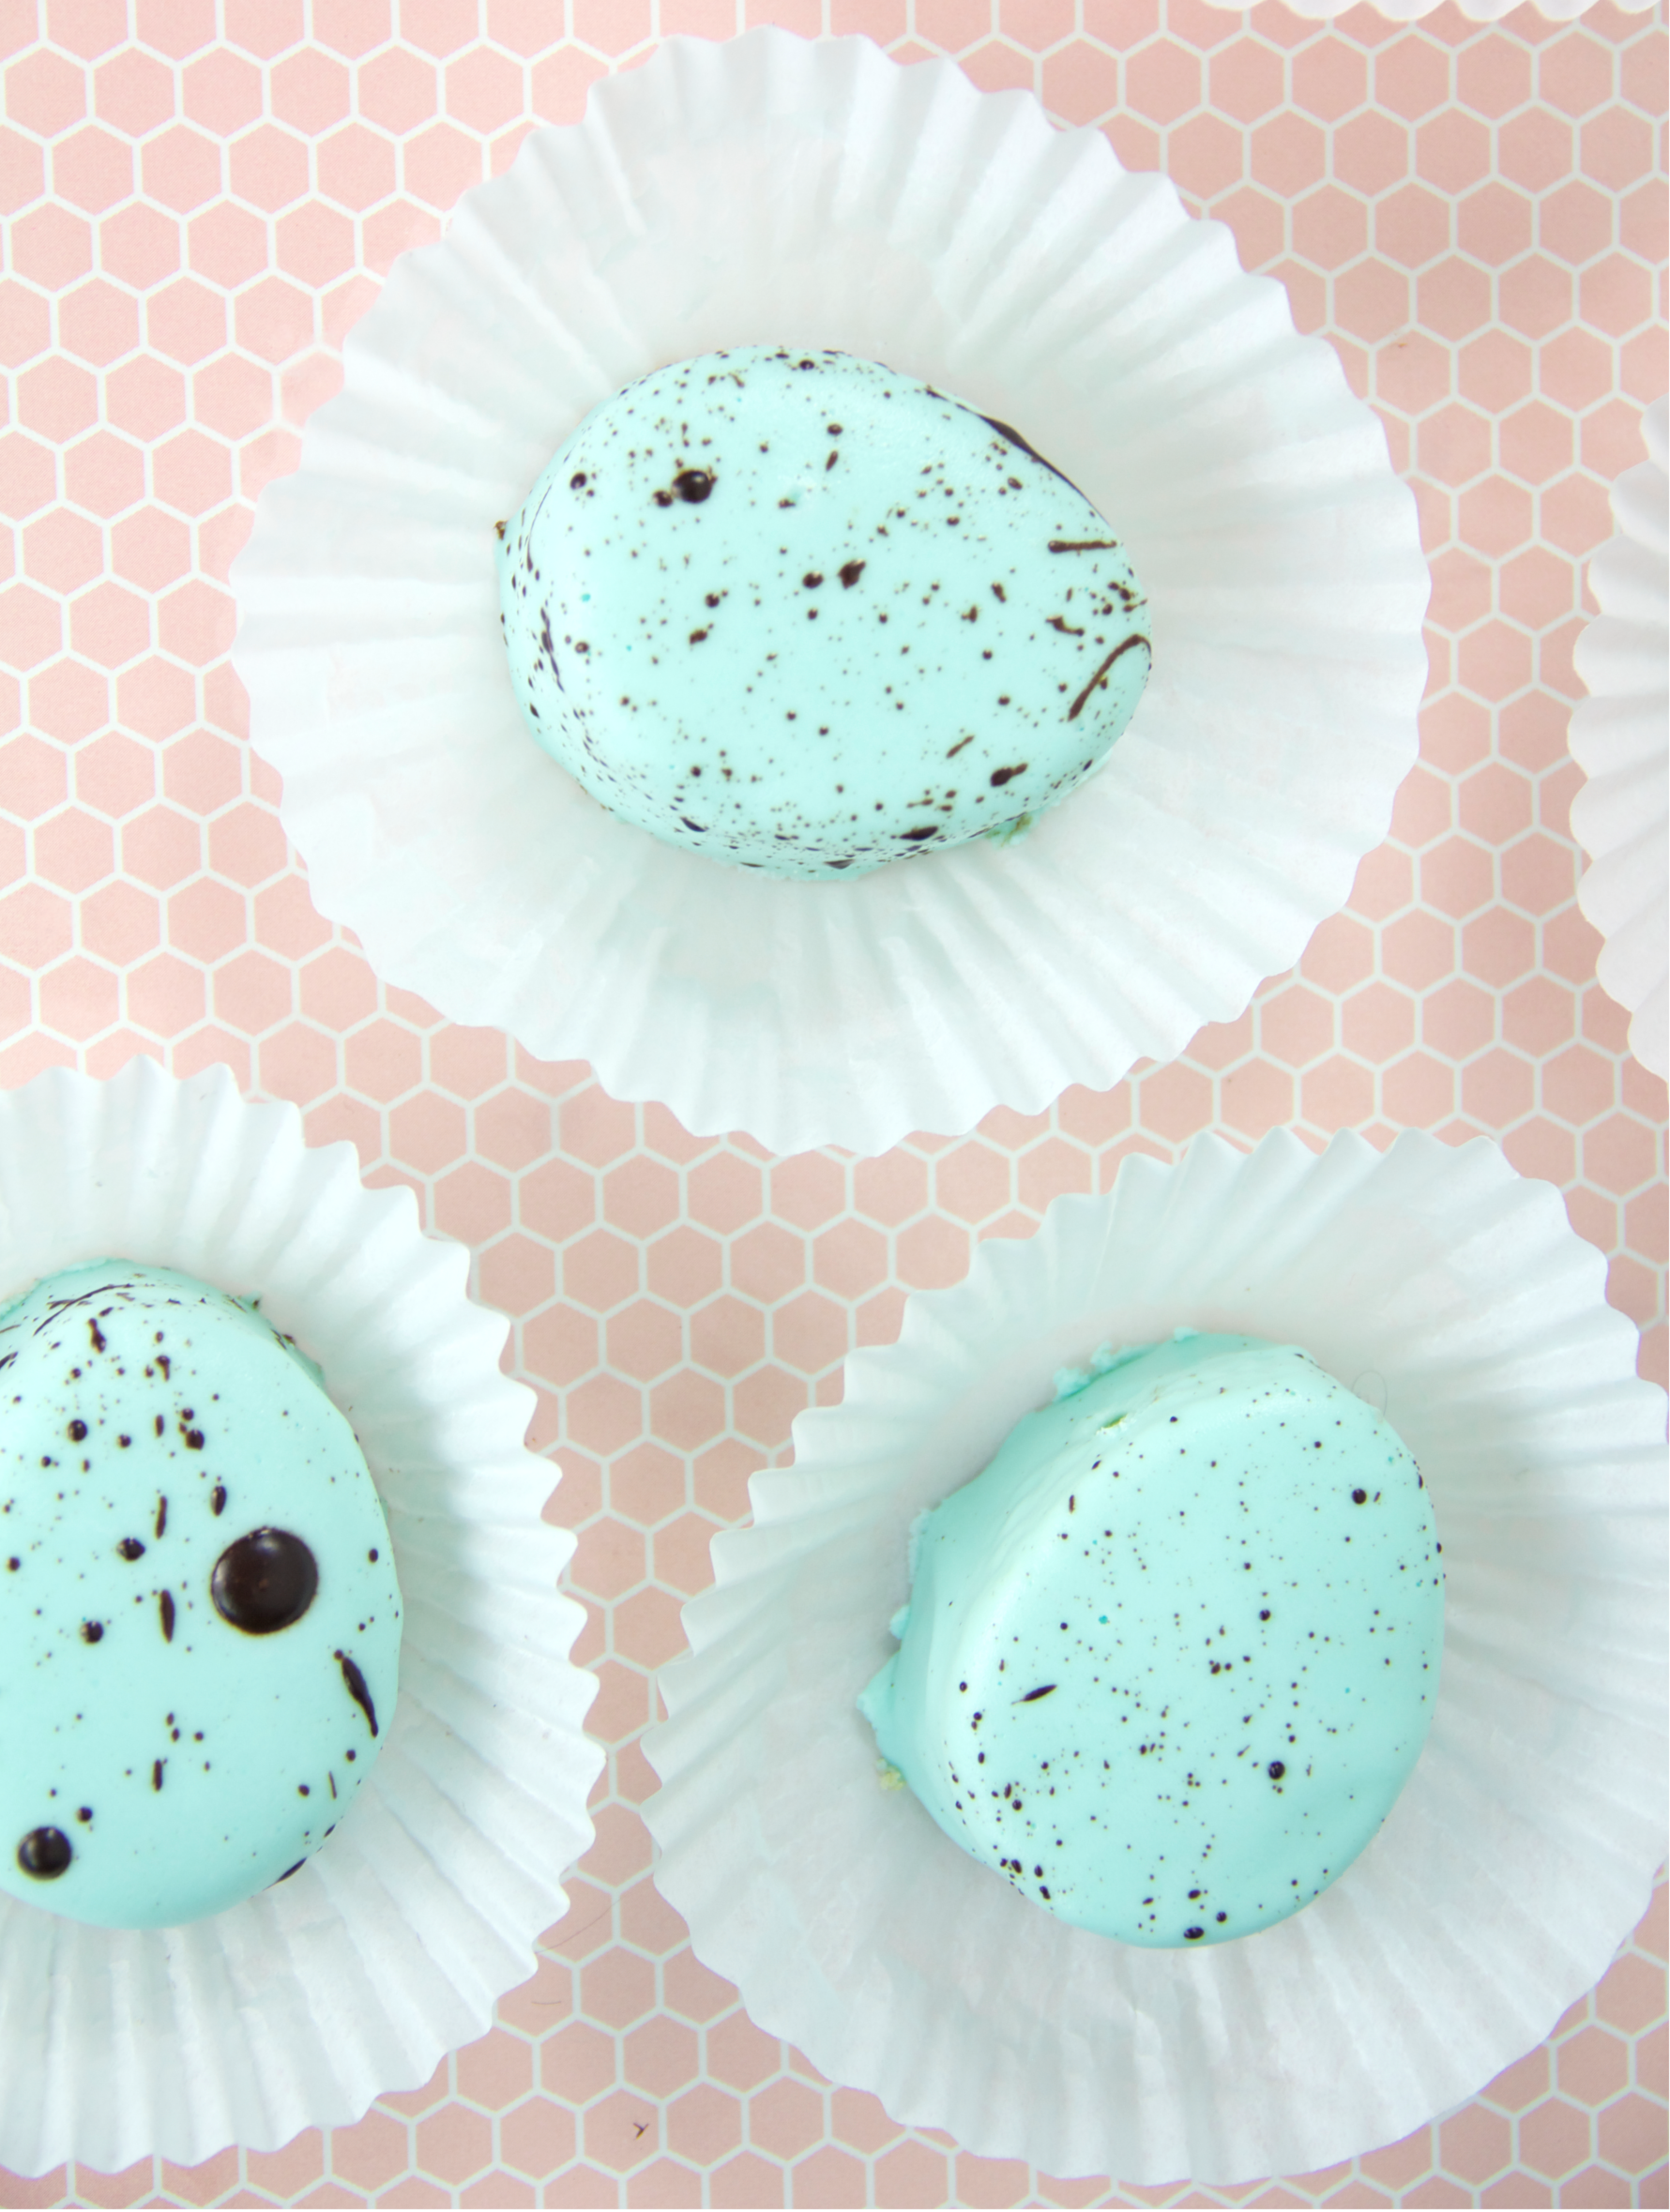
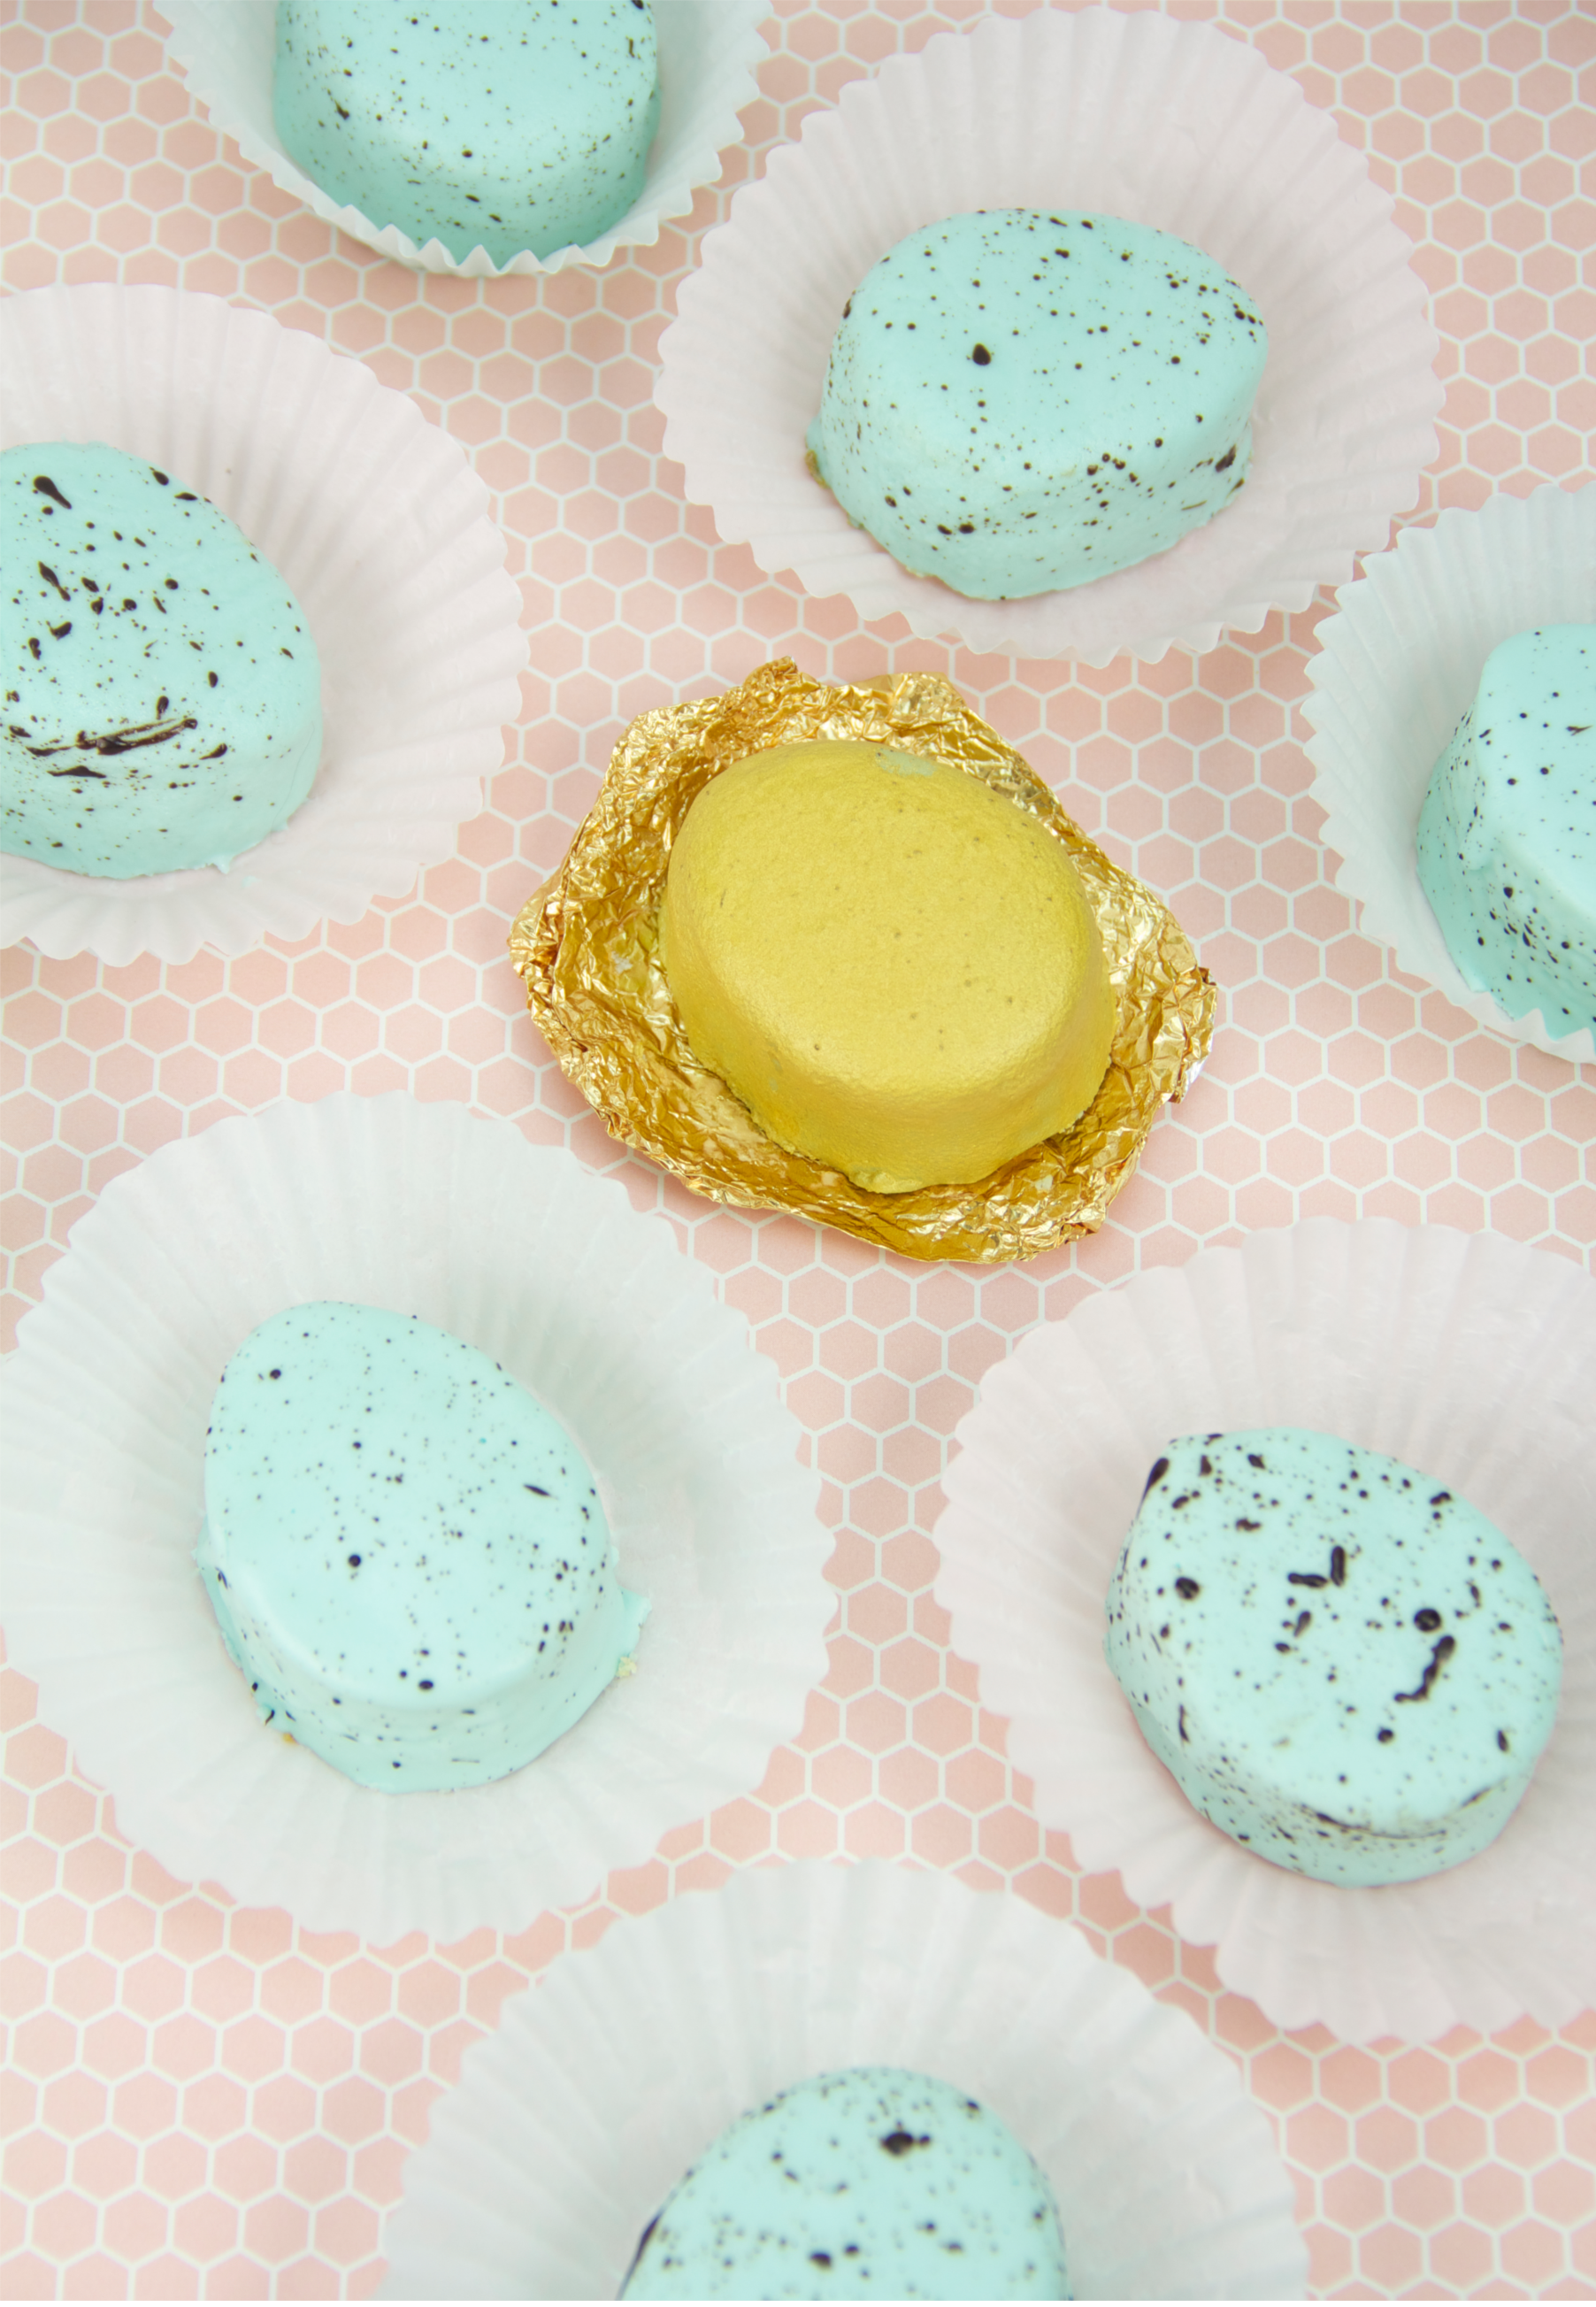
Mini Robin's Egg Cakes

Easter party planning can be a snap. With store bought ready made pound cake and frosting from a can. With this easy to follow Mini Robin's Egg Cake recipe for an Easter celebration with family and friends.
My inspiration for these beautiful blue egg mini cakes is just right outside my window. I have a bird's eye view, it's Spring, pussy willows have just popped open. Bird's are chirping. My pink cherry blossom tree in front of my sitting room window is about to bloom. Every year I enjoy Mother robin coming back to the same nest to rebuild what winter has torn down. Mother robin fast at work preparing a warm safe place. She lays her eggs, their a beautiful robins' egg blue. Baby robins hatch, Mother robin red breast fly's in and out of her nest bringing back food to feed her babies.
Ingredients:
• 1 - 16 oz. Frozen Pound Cake
• 1 - 16 oz. Canned frosting
• Blue food coloring
• 1 - T Cocoa powder
• 1 - T Vanilla extract
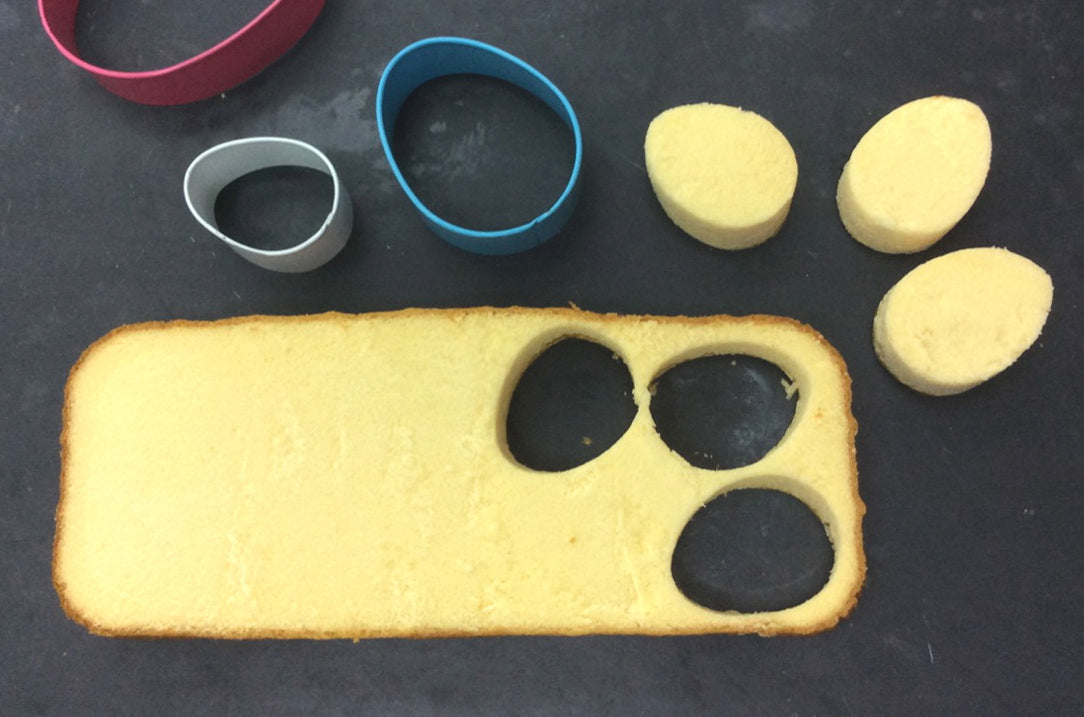
• Egg shaped cookie cutter (I used a 2" cookie cutter)
• Clean paint brush for speckling eggs.
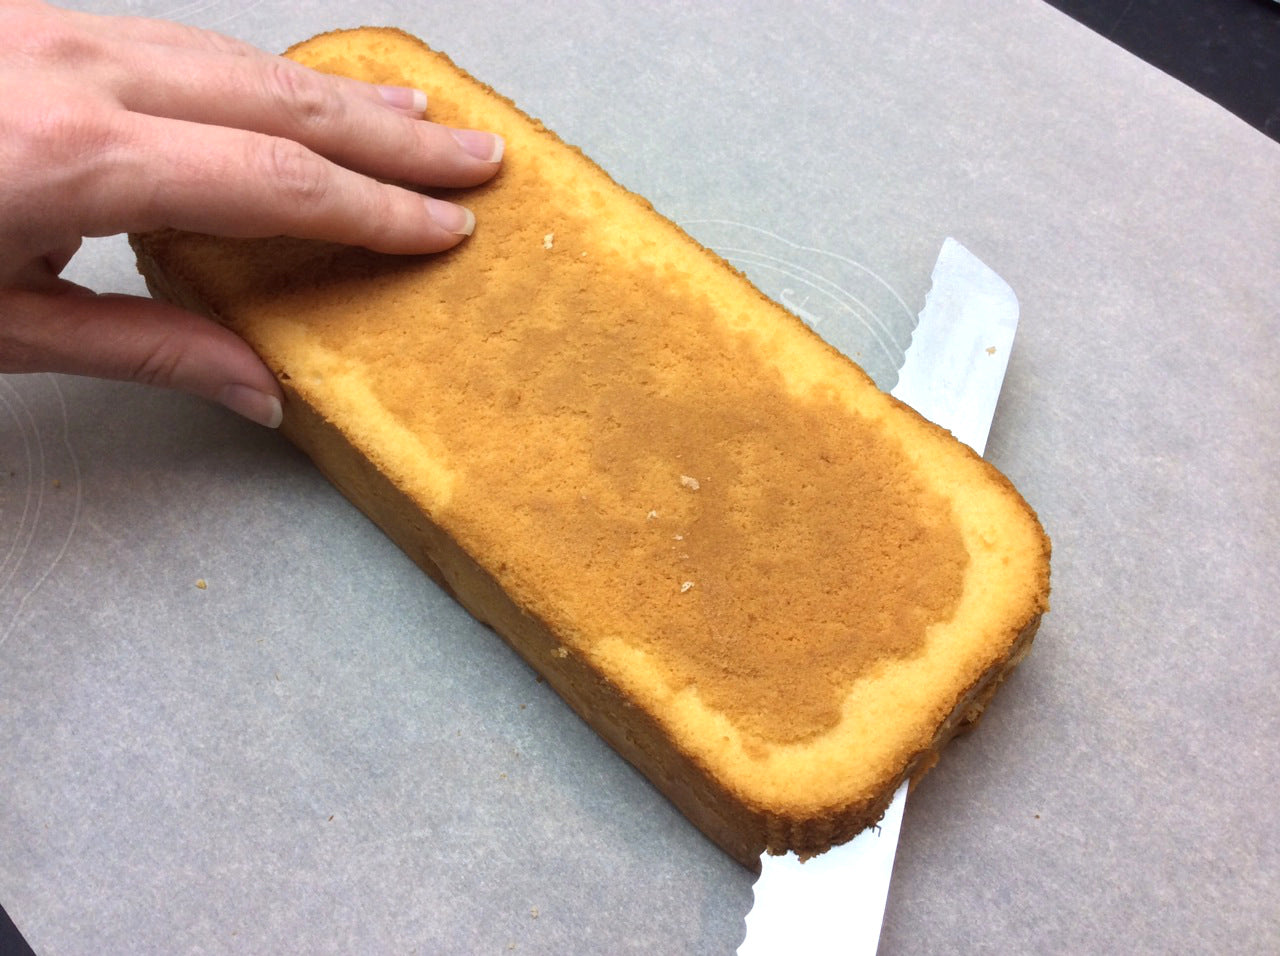
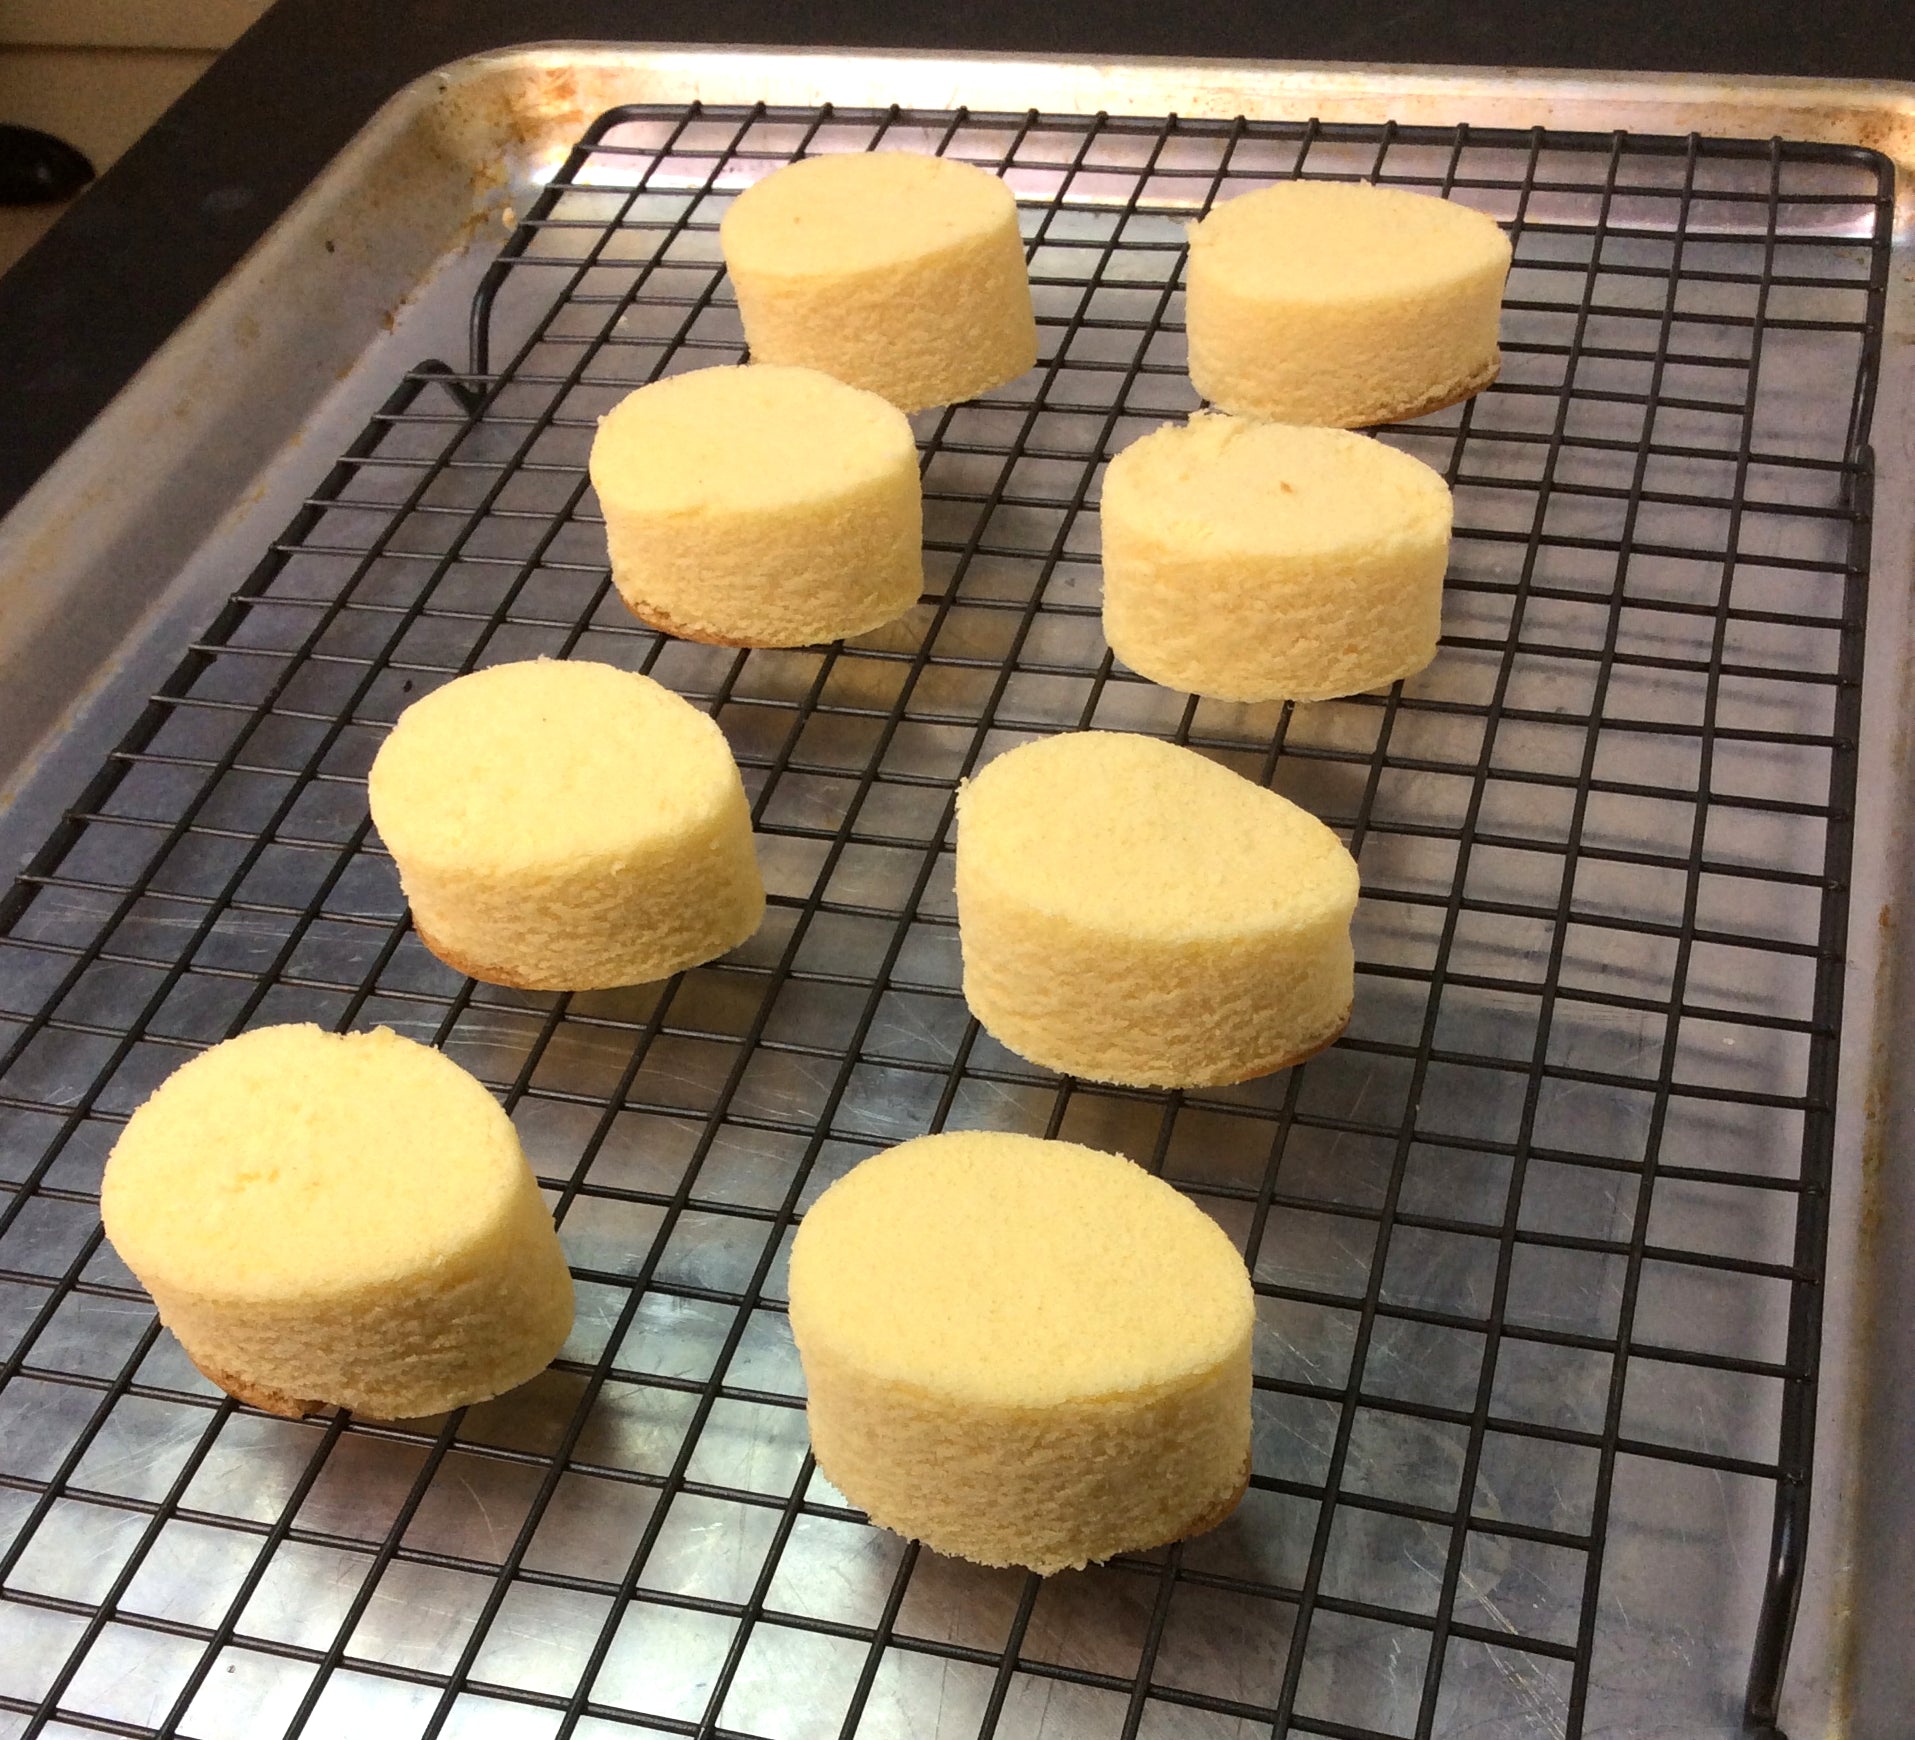
Use your cookie cutter to cut egg shaped pieces of pound cake. I pressed the little cakes out of the cookie cutter from the bottom up so I wouldn't leave indents on the top of the little cakes.
Set a wire rack onto a baking sheet. Place the mini pound cake egg shapes on top of cooling rack.
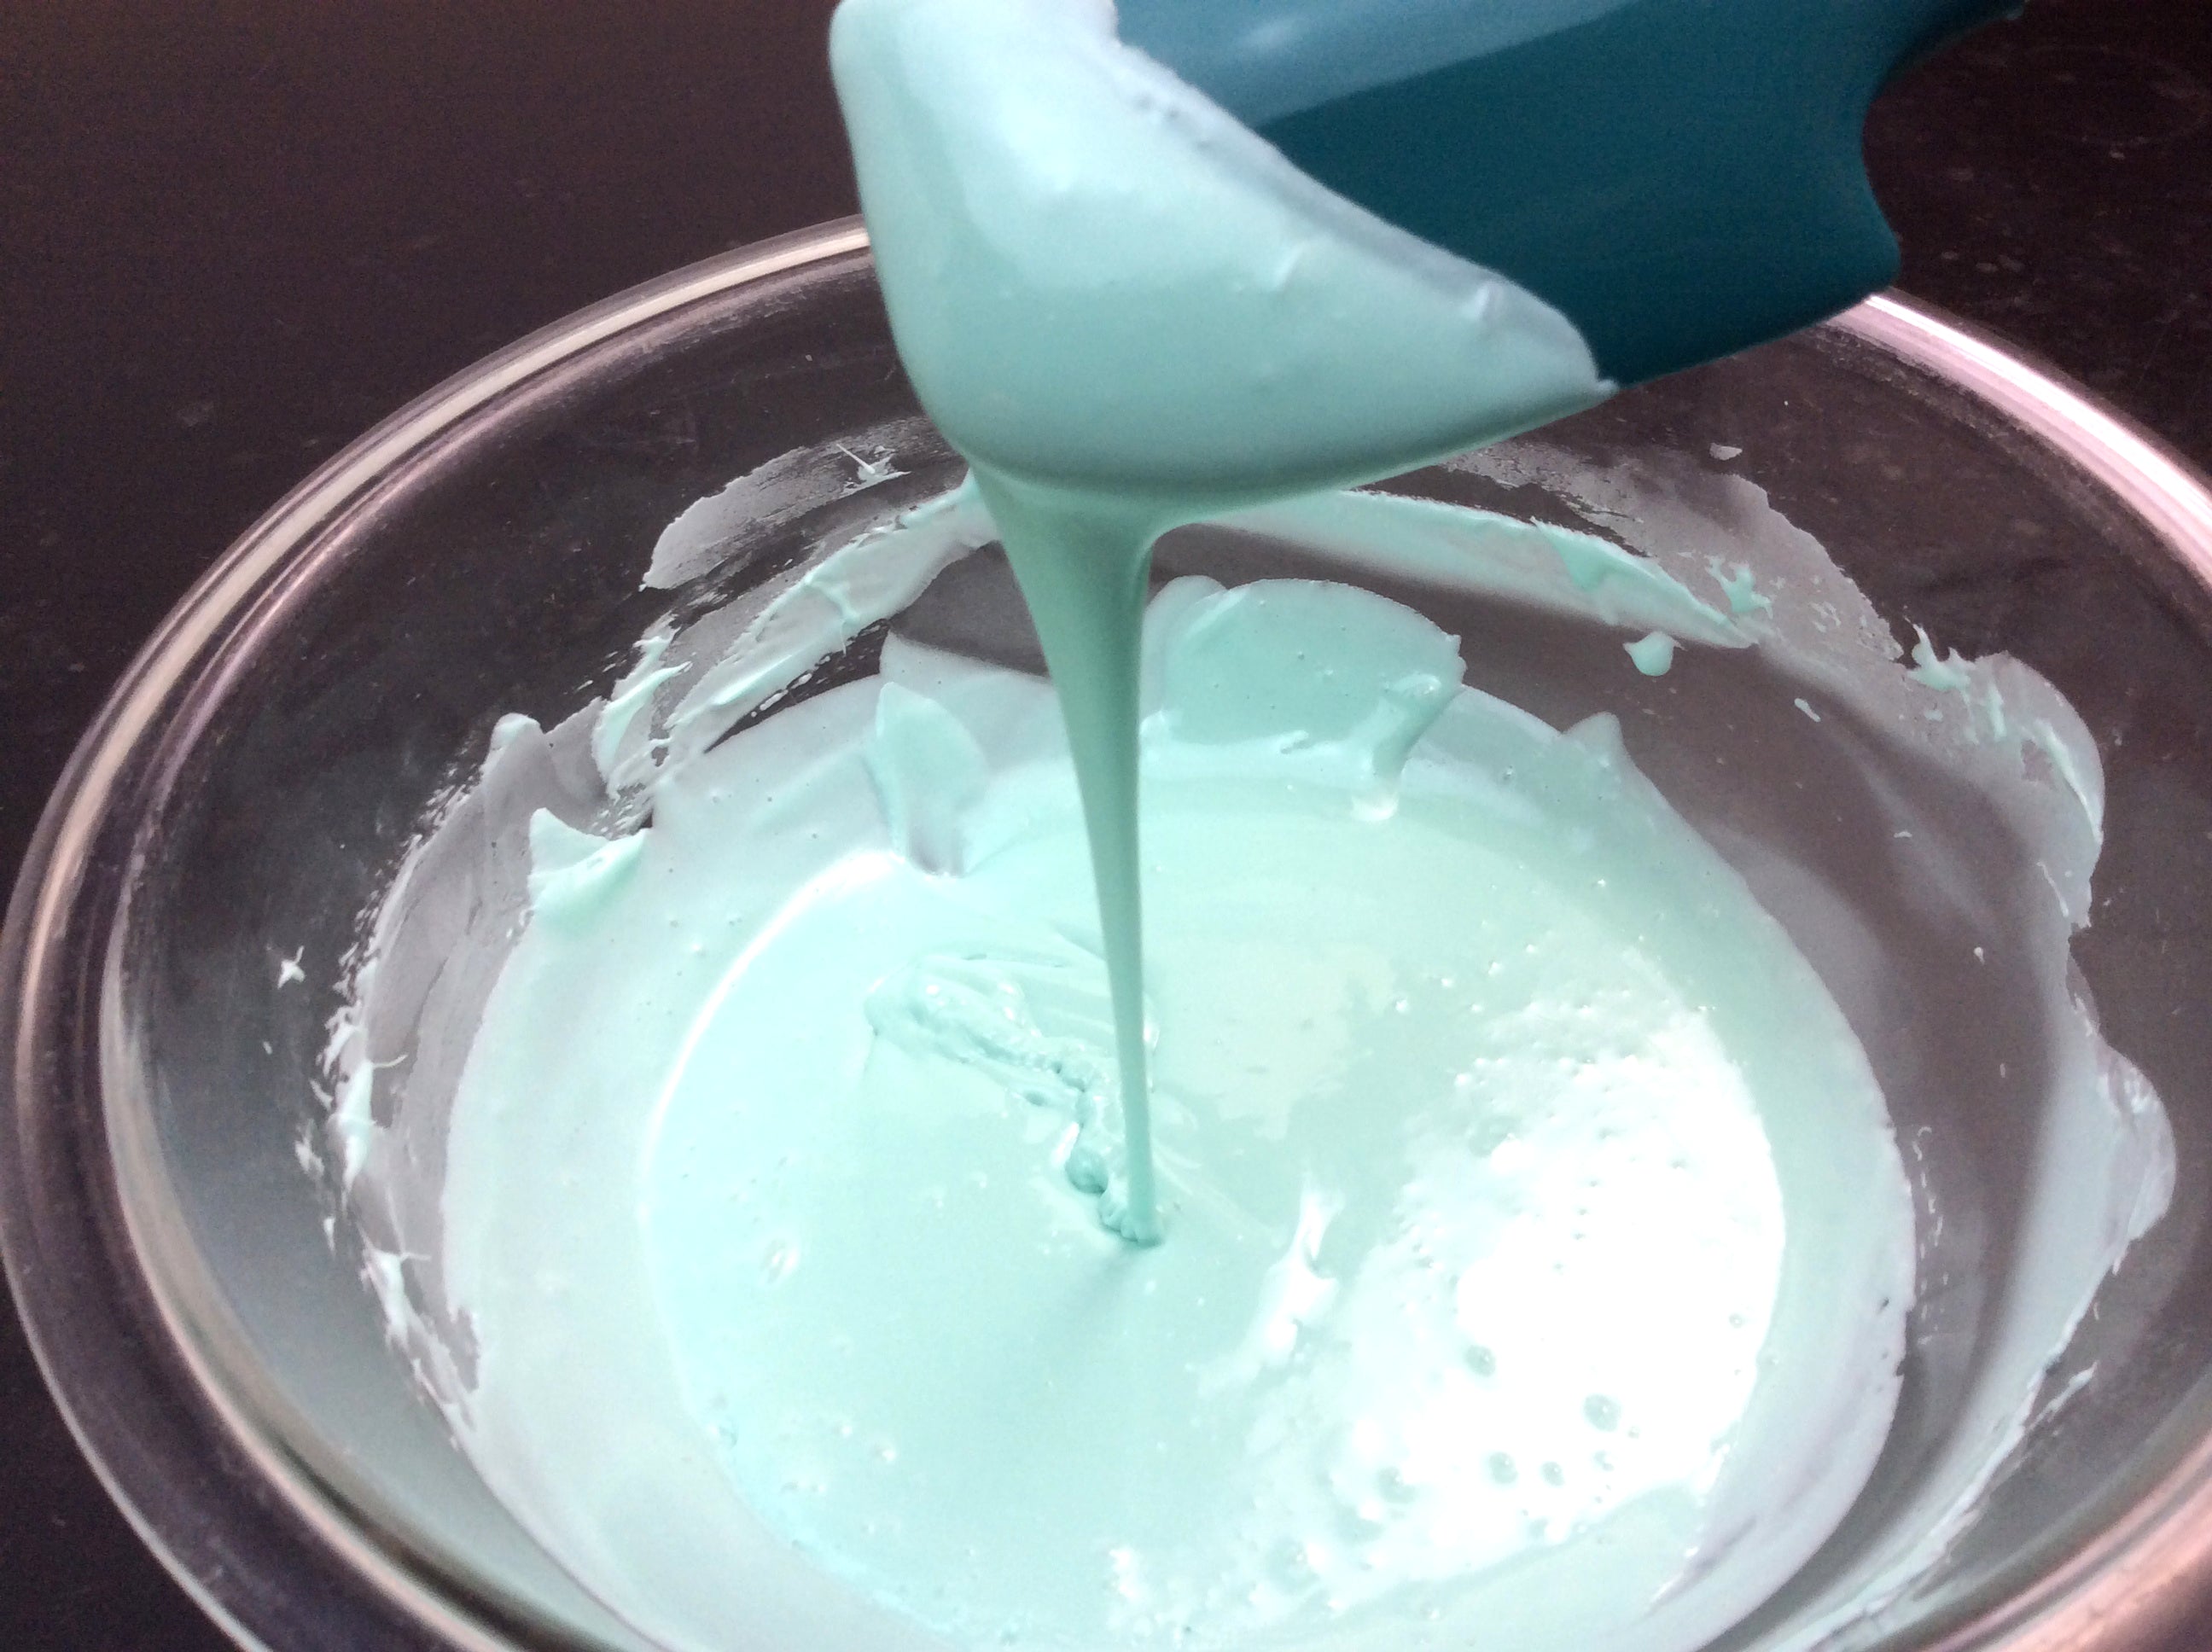
Heat frosting in microwave until melted, add blue food coloring. I used a few drops of neon blue and one drop of royal blue food coloring.
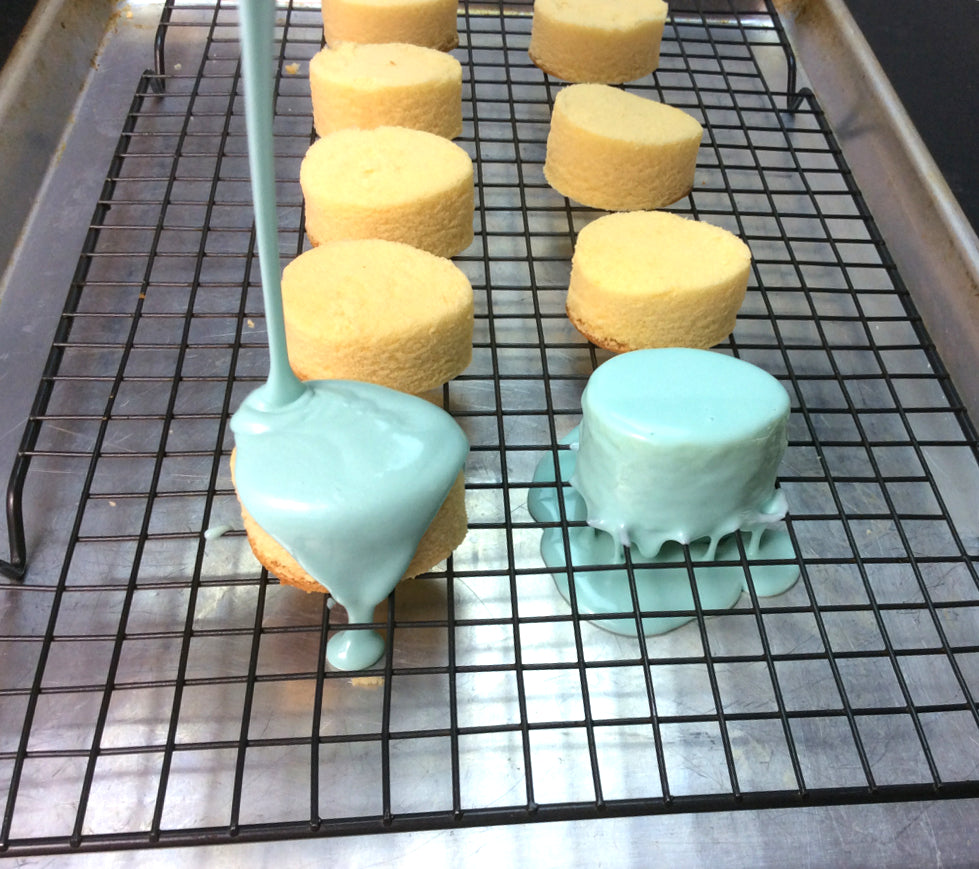
Pour blue icing over top of cakes until completely coated. If your icing begins to thicken simply reheat in the microwave for a few seconds.
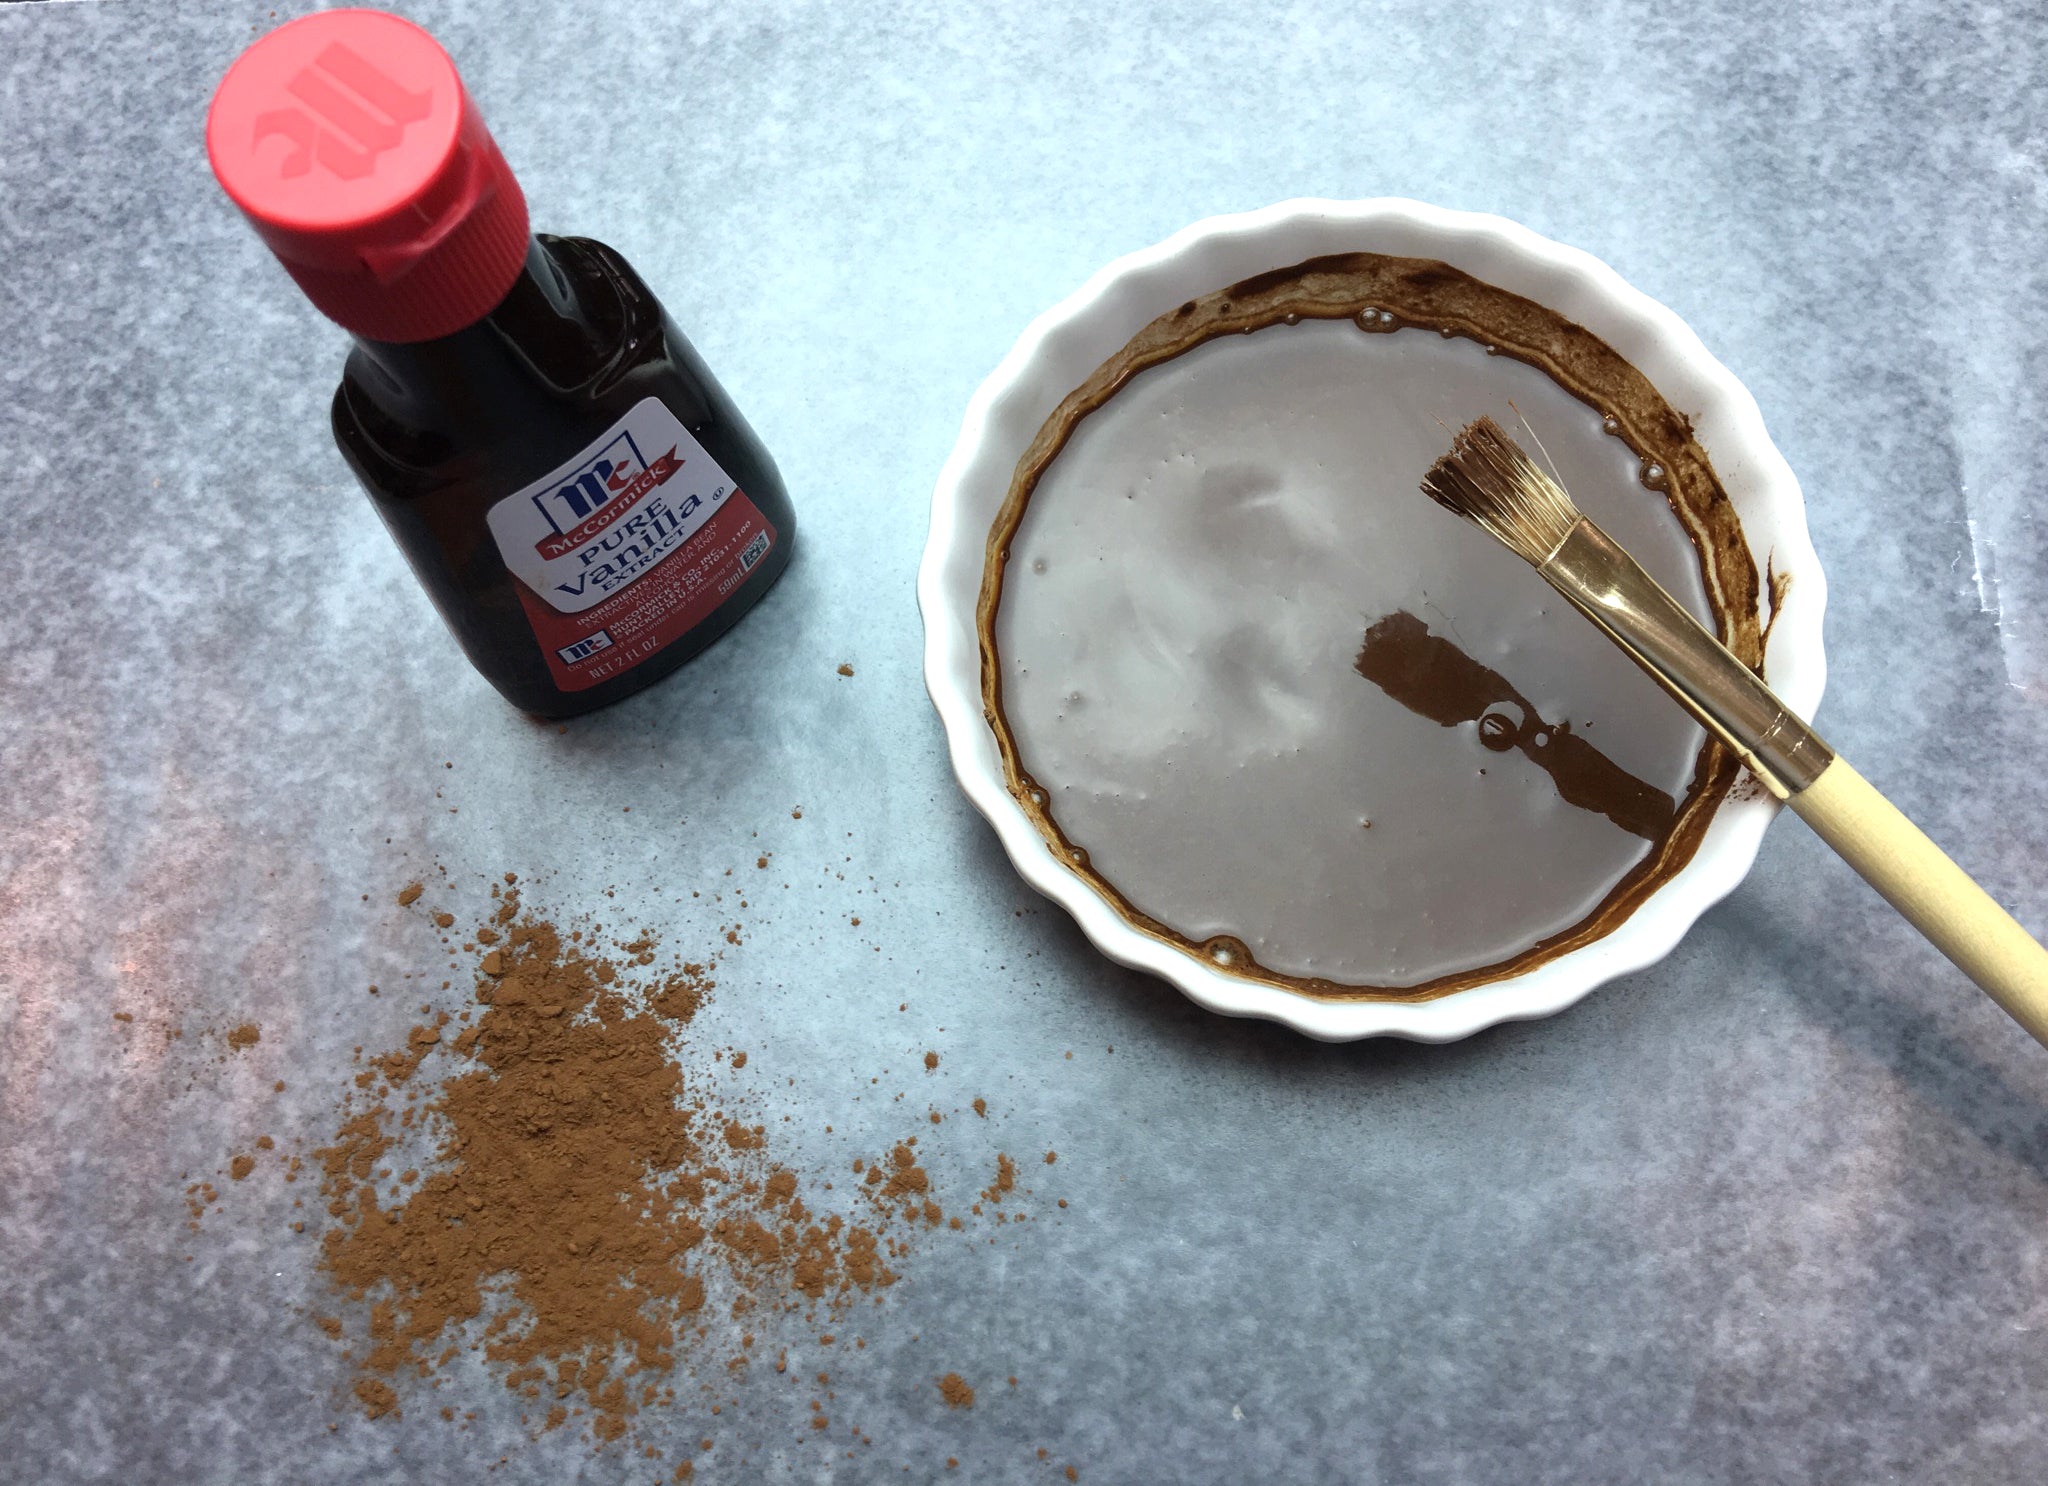
Let the cakes set for 15-20 minutes. While your waiting for the icing to set, mix the vanilla extract and cocoa powder together. Dip the paint brush into your chocolate paint, flick the bristles with your finger to create egg specks. I recommend practicing first on a piece of wax paper.
I just couldn't resist making one golden egg. I sprayed one frosted egg cake with Wilton Gold Color Mist, shimmering food color spray.
 I'm ready for Spring! What about you?
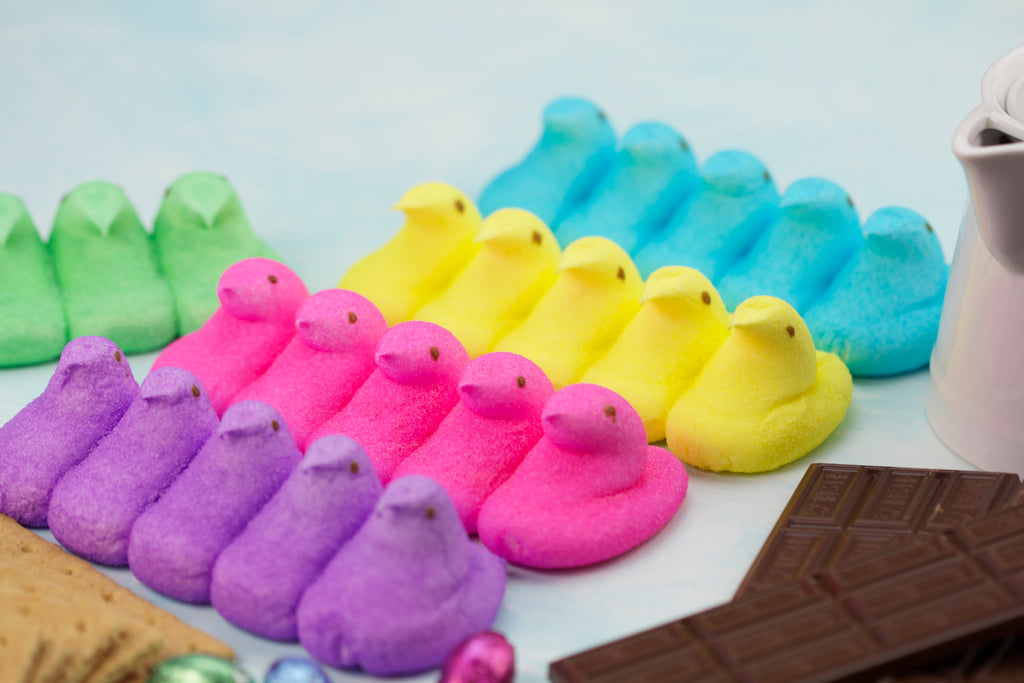
Peeps Skillet S'mores

The first time I ever had S'mores was on a girl scout camping trip with my daughters' troop. We had a nice camp fire going at the state park and we were all looking forward to toasting marshmallows. The troop leader said we were going to have S'mores. I said what's a S'more? She couldn't believe I never had S'mores."We'll girls, were going to have to make Mrs. West a S'more." The girl scouts proceeded to roast their marshmallows. While the marshmallows were still warm, they sandwiched a layer of chocolate and toasted marshmallows between two graham crackers. Oh boy, were they delicious! The warm melted chocolate and toasted marshmallow with the crunch of graham cracker.
Easter chick Peeps Skillet S'mores have brought this nostalgic delicious dessert to a whole new level for Easter. Enjoy these Skillet S'mores anytime, there's no need for a fire and they can be made in a matter of minutes. Whether you're feeding a crowd or entertaining friends this simple, fast recipe is a fun, colorful sweet treat that will conjure up nostalgic memories.

You'll need:
- Peeps. Different colors make this Easter desert fun and festive.
- Chocolate bars or chocolate chips (I used Hershey's chocolate eggs and chocolate bars).
- Your favorite graham crackers for dipping
- Butter.
- Cast iron skillet. (I recommend cast iron because it will keep your chocolate warm longer).
- A spoon (for mixing chocolate until melted)
Melt the butter in a cast iron skillet on your cook top. Remove skillet form the heat, layer your choice of chocolate chips or your favorite chocolate chopped up into small pieces into the bottom of the skillet.

Then place a single layer of Peeps on top of the slightly melted chocolate.
Finish off by baking at 450 until peep marshmallows are soft and gooey. If you like caramelized marshmallows like I do, briefly roast under broiler until desired.
Use graham crackers for dipping, using a spoon to scoop this Easter Peep treat is also helpful especially if you caramelized your marshmallows like I did. Serve Peeps Skillet S'mores right away while warm.
I think it's time to invite the girl scouts back, now that their all grown up!
Mmmmm yummy! Happy Easter!
Do you like your Peeps fresh and soft right out of the box or do you like your Peeps stale and firm?
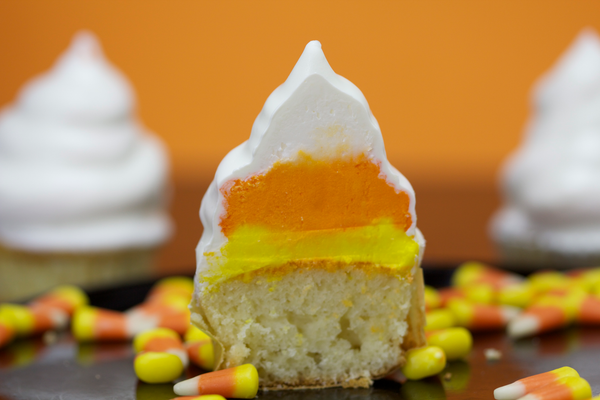
Candy Corn Hi-Hat Cupcakes
50's Halloween Trick or Treating, Bags Candy Corn!
These Candy Corn cupcakes remind me of the 50's when I was a little girl. Candy Corn was a treat given out in small filled trick or treat paper Halloween printed bags. As a child, kids in the neighborhood would frown on getting more candy corn, it seemed everyone gave it out. All the trick-or-treaters would say,"Oh no, not more candy corn!" Now that I'm an adult, I crave candy corn, it's the official go to Halloween candy. It brings back nostalgic childhood memories of having fun on mischief and Halloween night.
You will need;
- Cupcakes made using your favorite cake mix or your favorite cupcake recipe, I used vanilla cake mix.
- Make your cupcakes even more festive using Halloween cupcake papers.
- Ready made white frosting plus orange and yellow food coloring.
- A large round pastry tube for piping frosting
- White chocolate melting wafers, melted in microwave or double boiler on low heat.
Divide frosting into three bowls. Color one bowl of frosting orange and one yellow leaving the remaining bowl white.
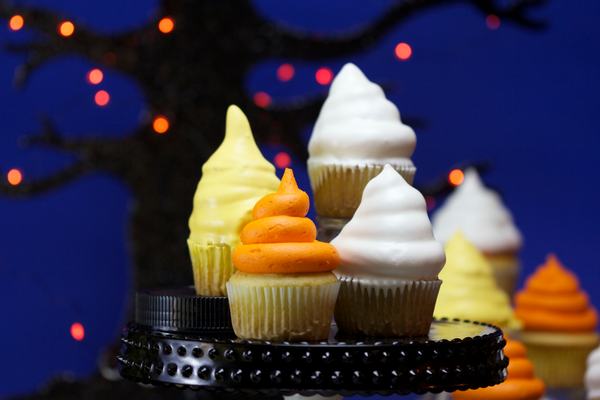
Fill pastry bags (I used disposable pastry bags to make cleanup a snap) for piping with yellow frosting, orange frosting and white frosting. Pipe first swirl of yellow frosting on each cooled cupcake, just like the colors of candy corn. Place in the freezer for up to 30 minutes or until firm.
Dip the cupcakes upside in white chocolate, let the excess chocolate drip off before turning right side up, it's that easy. You can also add food coloring to the white dipping chocolate in yellow and orange to make a trio of white, orange and yellow chocolate covered hi-hat cupcakes.
When I took my first bite of these candy corn cupcakes it had the taste and texture of mellowcreme candy corn. My daughter exclaimed "it tastes like a vanilla white chocolate truffle, mmm yummy!" I really like the texture that the white chocolate brought to the Hi-Hat Candy Corn Cupcakes. It's time to invite family and friends to share these special Halloween sweet treats!
Subscribe Follow Us
Recent Articles
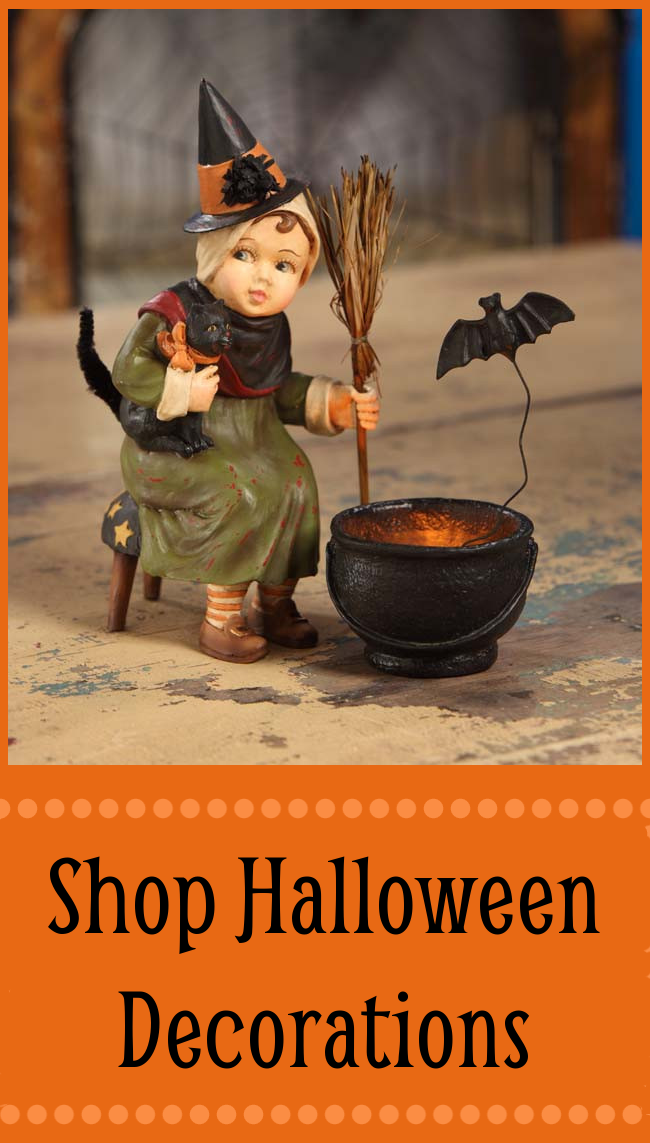
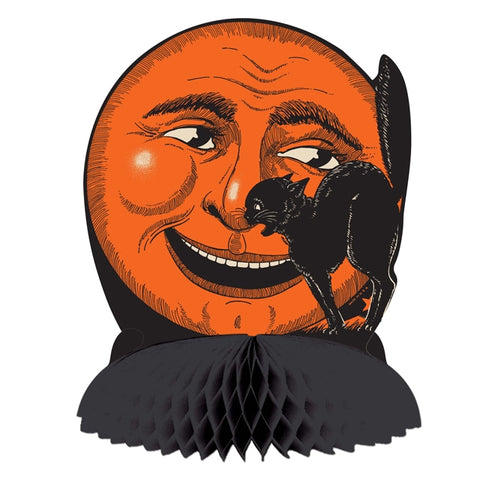
- 25+ Retro Halloween Cutouts: Do You Remember?
- Bethany Lowe Halloween Heirloom Collection
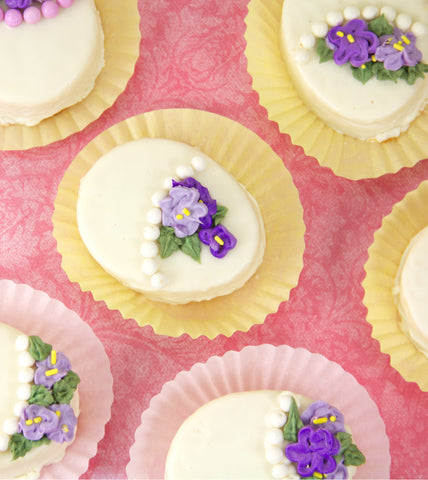
- Easter Blessings ~ Illuminated Cross Cake
- Quick & Easy Petite Easter Egg Cakes
- Mini Robin's Egg Cakes
Fun Decorations